")
When it comes to makeup, there are a lot of different tools that you can use to apply it. One of the most popular options is the makeup sponge. Makeup sponges are great because they allow you to apply makeup evenly and smoothly.
They also help to blend makeup so that it looks natural. If you’ve never used a makeup sponge before, don’t worry! I’m here to help. In this post, I’ll give you a step-by-step guide on how to use a makeup sponge.
A makeup sponge is a small, soft, and typically egg-shaped or teardrop-shaped tool used to apply makeup products to the skin. A makeup sponge can help you achieve a flawless finish when used correctly. But if you’ve never used one before, I understand you may have questions about how to use a makeup sponge.
What I’m going over in this post is how to use a makeup sponge, the most popular shapes, how to pick a suitable sponge for your needs, the benefits of using a makeup sponge, how to clean it, and the sponges I think are the best and worth your money.
How To Use A Makeup Sponge
Using a makeup sponge shouldn’t be that hard, but you have to keep a couple of things in mind to ensure that whatever product you want to apply, you have a flawless, natural-looking finish every time.
How To Use A Makeup Sponge For Foundation
Foundation is one of the trickiest products to apply evenly, but using a makeup sponge is a great way to get a flawless finish. Here’s how to use a makeup sponge for foundation:
- Wet the sponge and squeeze out any excess water;
- Dot foundation on your face and then use the sponge to blend it in, starting from the center of your face and working outwards;
- Use the broader end of the sponge on larger surfaces like your cheeks, chin, and forehead;
- Use a dabbing motion for the best results, do not drag the sponge over your face.
How To Use A Makeup Sponge For Concealer
A makeup sponge is the best tool for applying concealer and achieving a flawless finish. For a natural-looking finish, use a light touch and blend well. Here’s how to use a makeup sponge for concealer:
- Wet the sponge and squeeze out any excess water;
- Dot concealer under your eyes and/or any other areas you want to conceal;
- Use the pointed tip in hard-to-reach areas or if you want to spot conceal an impurity;
- Again, use a dabbing motion for the best results.
How To Use A Makeup Sponge For Blush
A makeup sponge will be perfect if you want your blush to look natural, blended with no harsh lines or a powdery finish. Here’s how to use a makeup sponge for blush:
- Wet the sponge and squeeze out any excess water;
- If you also use a sponge for foundation/concealer, you may want to use another clean sponge for the best results;
- If you’re using a liquid blush, you can apply dots onto your cheeks first and then start blending;
- If you’re using a cream blush, you can dab your sponge into the blush and then onto your cheeks;
- Again, use a dabbing motion for the best results.
How To Use A Makeup Sponge For Bronzer/Contour
A makeup sponge will be perfect if you want your bronzer or contour to look natural, blended with no harsh lines or a streaky finish. Here’s how to use a makeup sponge for bronzer/contour:
- Wet the sponge and squeeze out any excess water;
- If you also use a sponge for foundation/concealer, you may want to use another clean sponge for the best results;
- If you’re using a liquid bronzer, you can apply dots onto your cheeks first and then start blending;
- If you’re using a cream bronzer, you can dab your sponge into the bronzer and then onto your cheeks;
- Some bronzers come with an applicator (for example, the Charlotte tilbury Contour Wand) which you can apply directly to the cheeks and then start dabbing with your sponge;
- Again, use a dabbing motion for the best results.
How To Use A Makeup Sponge For Highlighter
A makeup sponge is fantastic for a more subtle look of highlighter while not accentuating pores and texture. Here’s how to use a makeup sponge for highlighter:
- Wet the sponge and squeeze out any excess water;
- If you also use a sponge for foundation/concealer, you may want to use another clean sponge or the same sponge you use for blush for the best results;
- If you’re using a liquid highlighter, you can apply dots onto your cheeks first and then start blending;
- If you’re using a cream highlighter, you can dab your sponge into the highlighter and then onto your cheeks;
- Again, use a dabbing motion for the best results.
How To Use A Makeup Sponge With Setting Powder
This one might be surprising, but yes, you can also use a makeup sponge to apply setting powder. Here’s how to use a makeup sponge for setting powder:
- Wet the sponge and wring it out so it’s damp;
- Tap the sponge into the powder, then lightly bounce it over your skin;
- To build up coverage, press the sponge into your skin;
- When you’re done, tap the sponge on a tissue to remove any excess powder.
How to Choose A Makeup Sponge
Before you purchase, you may want to consider how you will use a makeup sponge and your preferences regarding its texture. Here are some points to consider:
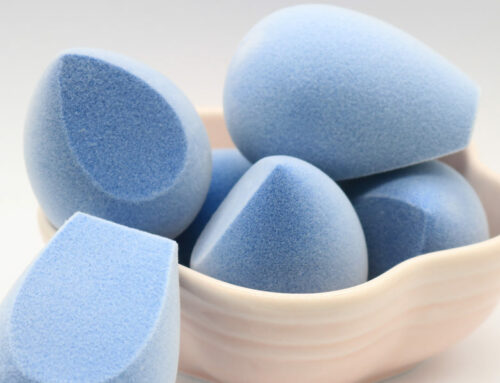
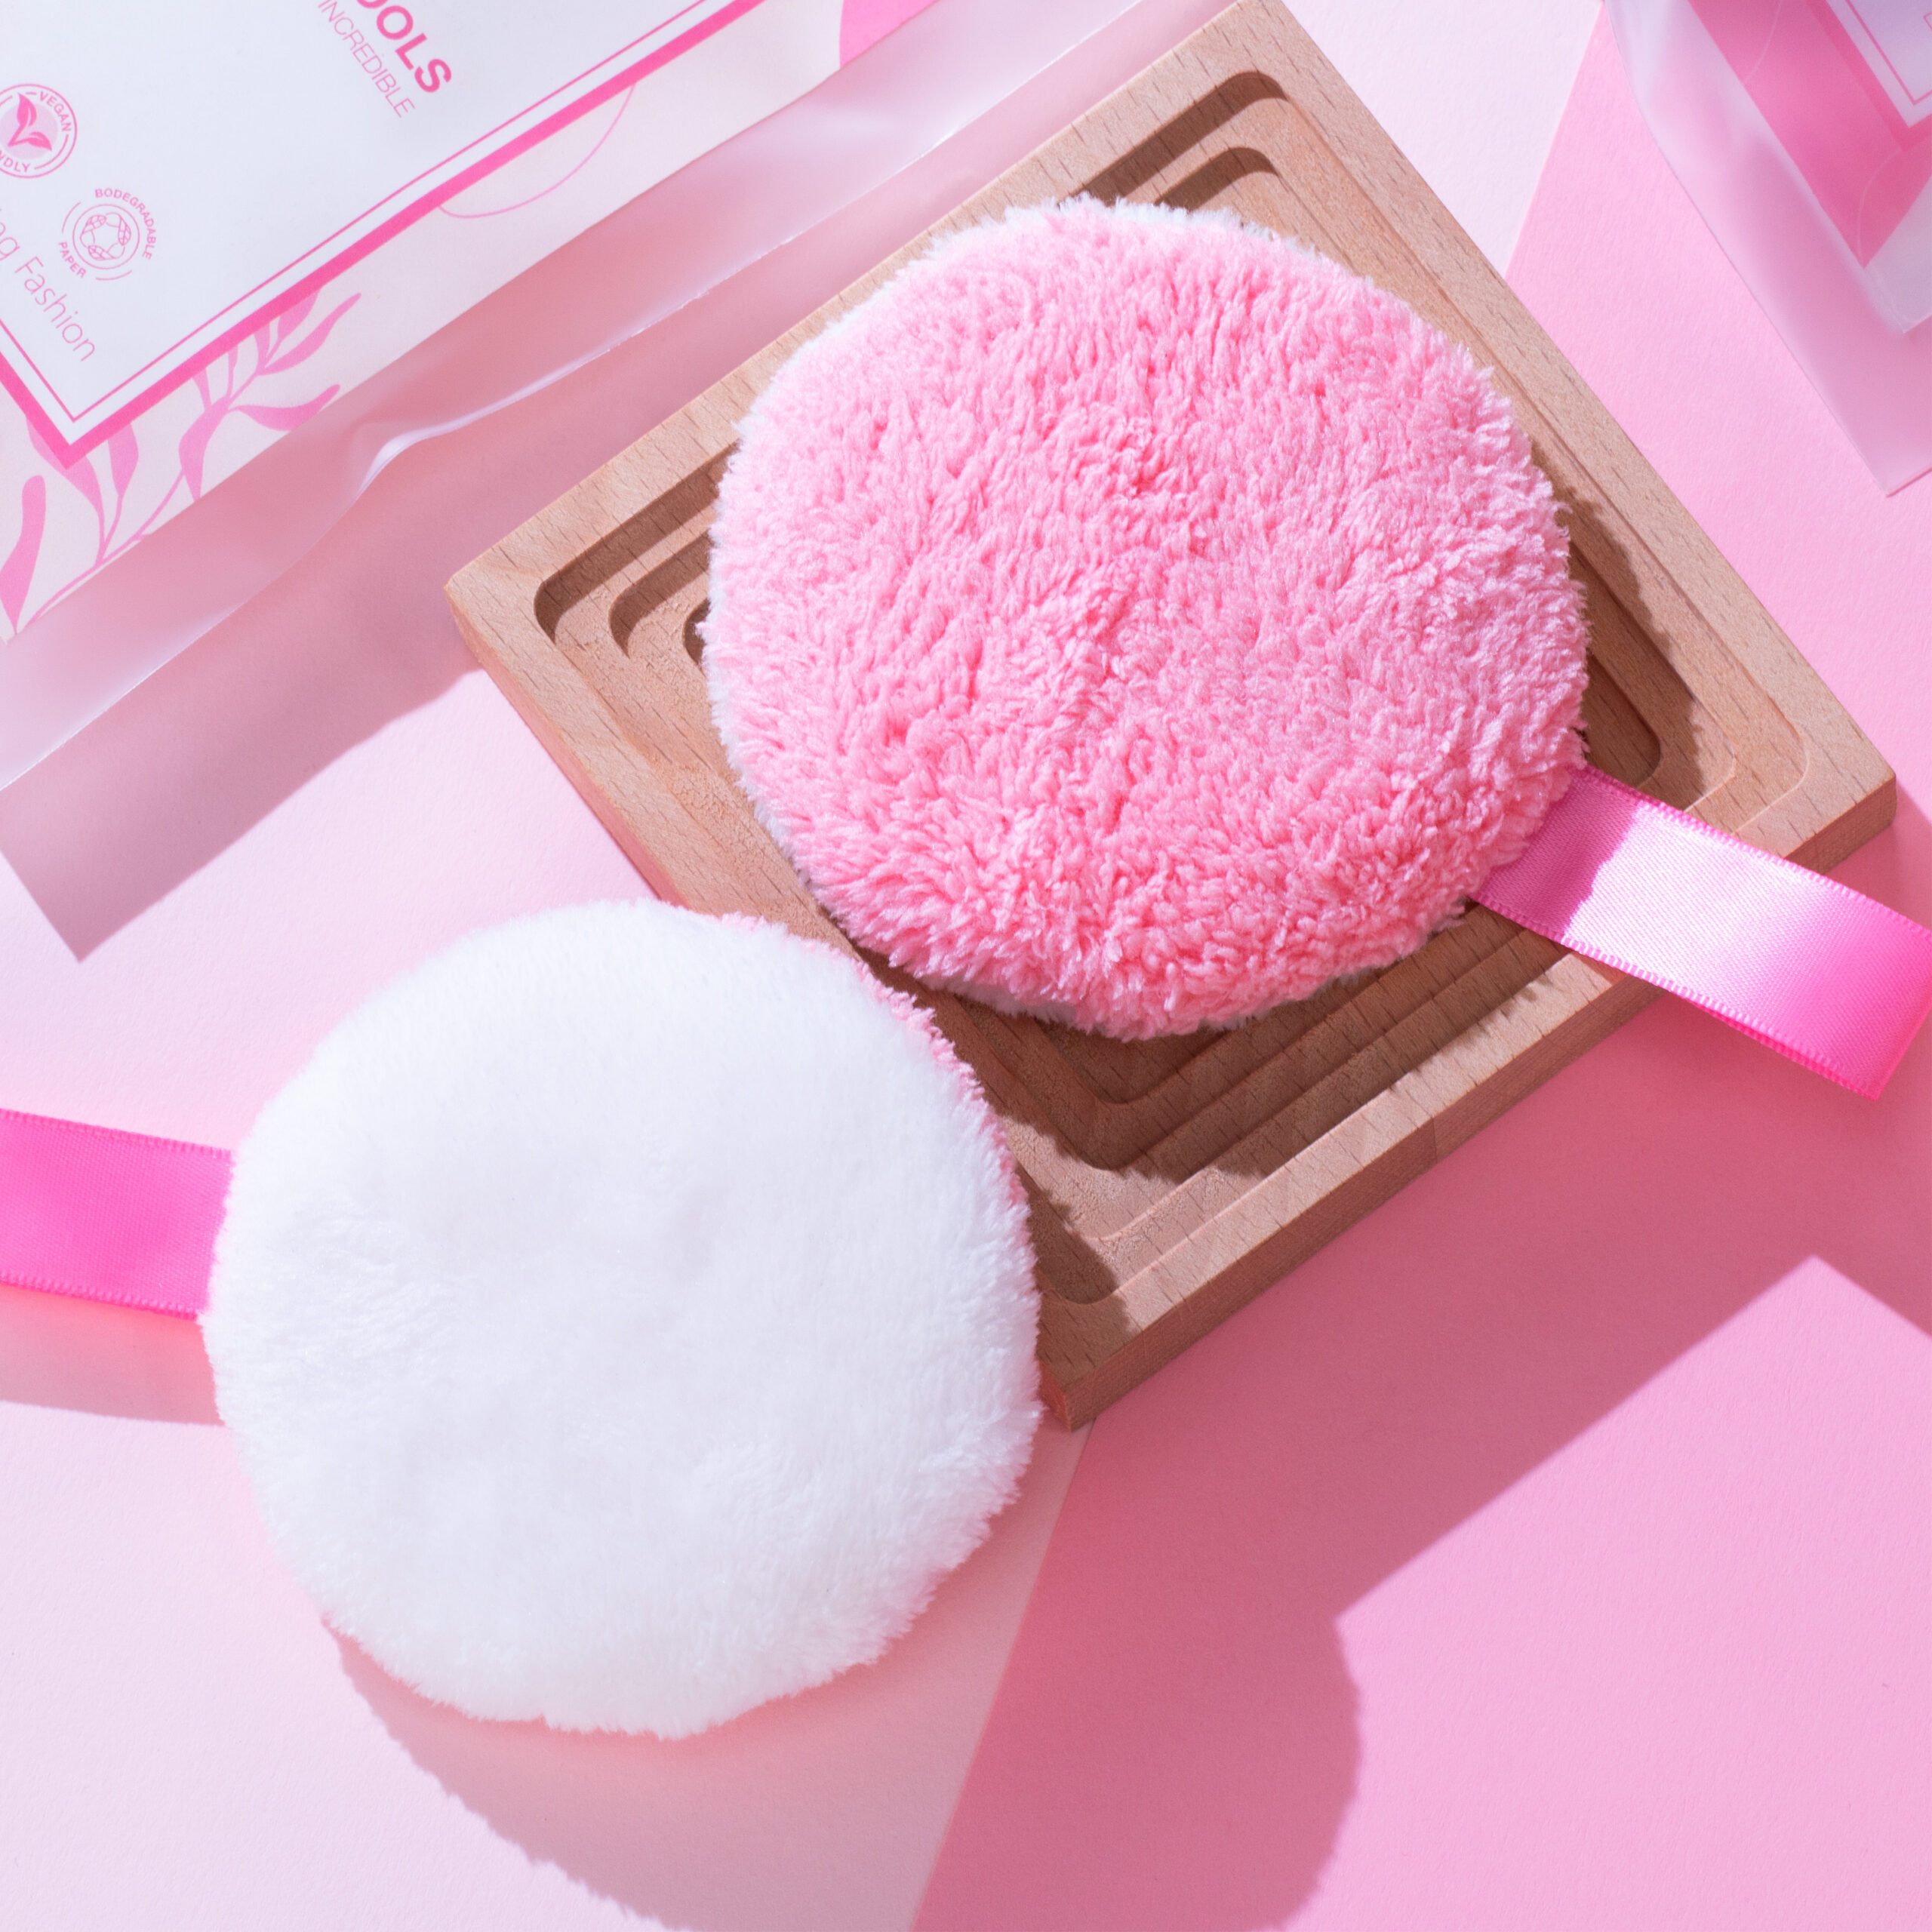
Texture
A good makeup sponge should be soft, flexible, and bouncy, so that it can spread the product all over your face with easy and also feels comfortable. On top of that, you can choose between foam, sponge or microfibre sponges. It depends on the density of the product to decide which one is the softest though.
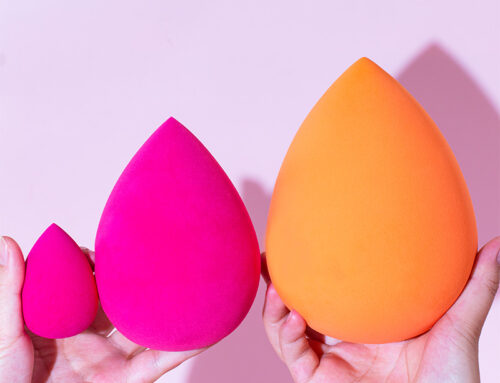
Size
When it comes to makeup, sponge size does matter! It comes down to personal preference, but larger sponges allow you to cover larger surface areas. Smaller sponges are great for more precise application, and are especially great for reaching those off the beaten path places on your face.
Choose Your Shape
There are many different shapes of makeup sponges nowadays, and the best sponge for you depends on what you want to achieve with it and what you want to apply. See the six most popular shapes below and decide which one suits your application goals.
6 Shapes Of Makeup Sponges
I think we all know the famous pink egg-shaped beautyblender makeup sponge, which introduced us to the world of makeup sponges. However, the egg-shaped makeup sponges might be the most well-known; over the years, the makeup sponge family expanded significantly.
Now you can get a makeup sponge in almost every size and shape. I’m going to share the six shapes that are used the most.
Egg-Shaped
The egg-shaped makeup sponge is, like I said, where it all started and probably a makeup sponge shape that many of us have used before. The curves and rounded sides of the egg-shaped makeup sponge bounce over and smooth out any makeup area, and the pointed tip enables precise application, even on hard-to-reach spots.
Best for: This is the most versatile sponge and can be used for applying foundation to concealer to powder.
Teardrop With Flat Edge
A teardrop shape is one of the most popular shapes for makeup sponges. It’s versatile and can be used for various applications, from foundation to contouring. The pointed end is great for getting into hard-to-reach areas, while the roundness makes it easy to use and blend your cream and liquid products to an airbrushed finish.
Best for: A full coverage base as well as precision contouring.
Hourglass
The hourglass sponge is great for blending makeup. It can be used with blush, foundation, concealer, and eye shadow to create a soft, natural look. Due to its shape, it’s really easy to hold and pleasantly to work with. The pinched center section of the brush can be used to apply highlighter or blush to your cheeks by rolling it on.
Best for: Blending makeup for soft look and applying blush/highlighter.
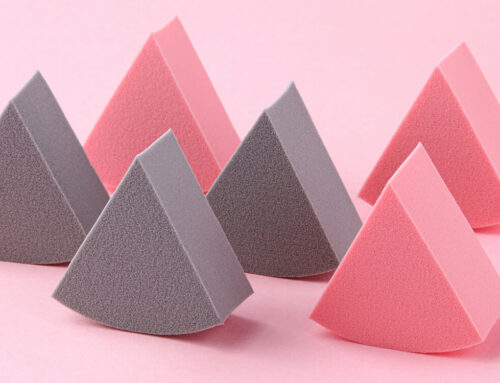
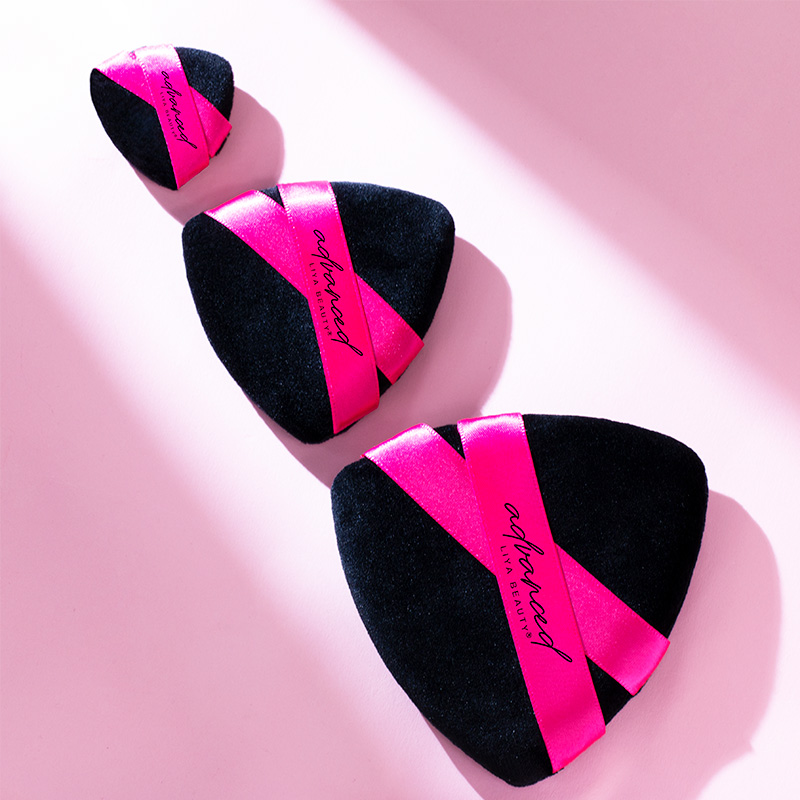
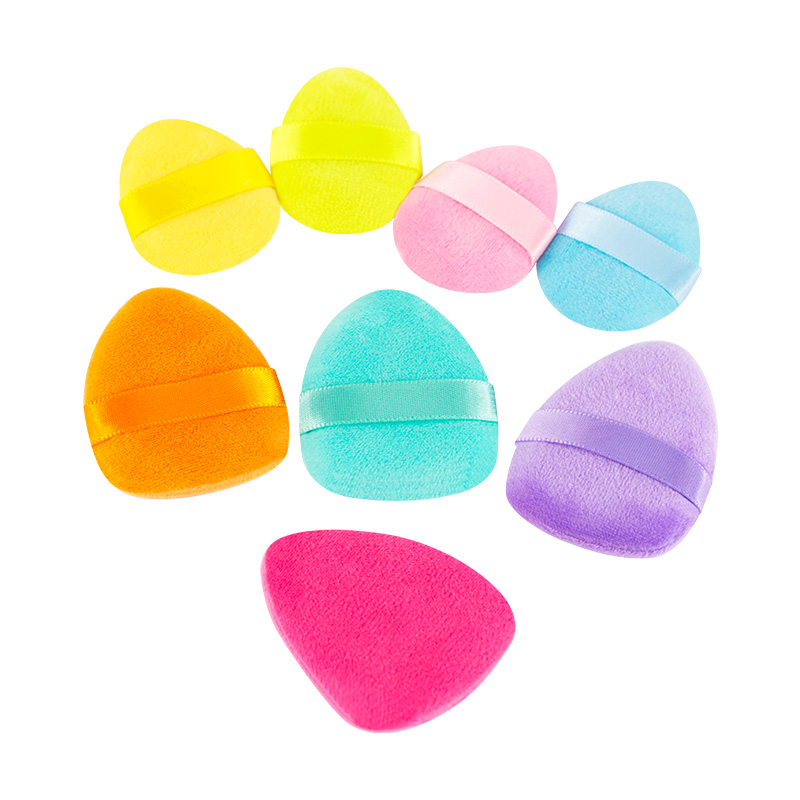
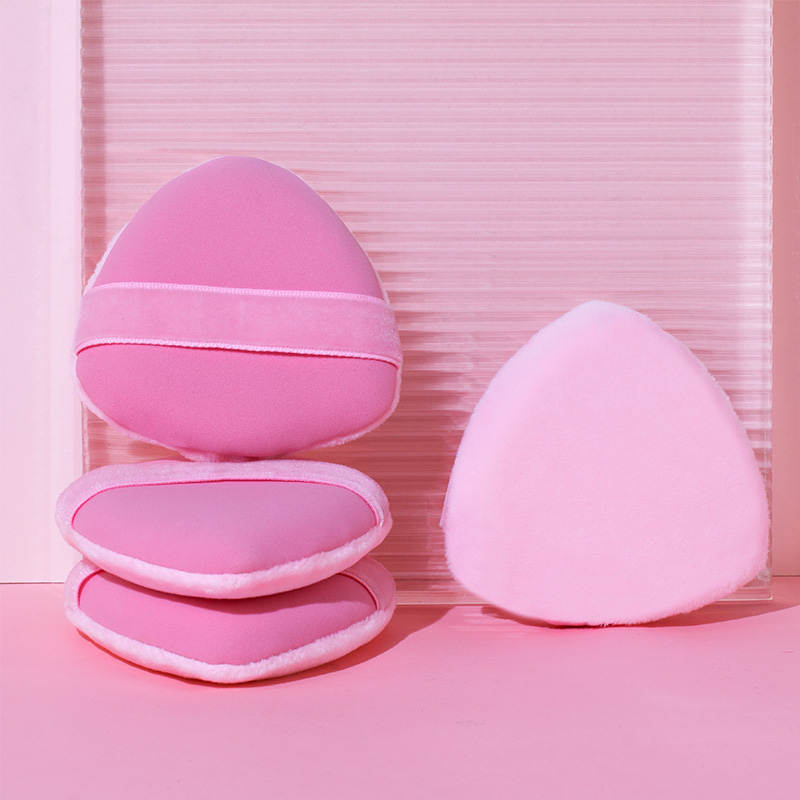
Triangle
The triangle sponge is great for applying foundation and concealer in hard-to-reach areas, like the corners of your nose. It can also be used to contour your cheekbones and jawline. Due to it’s sharp sides, it might not be the most beginner-friendly sponge but it works well for very precise application and sharp edges.
Best for: Blending hard to reach areas and contouring the face.
Pear Shaped
The pointed pear shape is versatile and user-friendly. It’s perfect for applying products, blending, contouring, and buffing out the corners of your face, especially the rounded edge of the pear-shaped sponge is perfect for blending. Using the curves of this sponge gives an opaque finish whereas the rounded base offers a sheerer application.
Best for: Applying products and blending them into the skin.
Detailed Pointed Tip
The pointed fine tip allows for the most precise application in the smallest areas. The shape is user-friendly and easy to hold, but it is best to use this for precise application only as blending the whole face is more of a chore with this type of sponge.
Best for: Reaching small areas and for very precise blending.
Knowing how to use a makeup sponge can help you achieve a flawless finish. The sponge helps to blend the makeup evenly and can be used to apply foundation, concealer, powder, and blush. It’s a multi-functional little tool that has lots of benefits, and even has extra benefits compared to makeup brushes, including:
- It doesn’t leave any stripes and streaks, whereas a brush can often leave streaks;
- It leaves a natural-looking finish, often very luminous too;
- It’s soft for delicate areas, such as the eye area;
- It’s really good for pressing the product into the skin;
- A makeup sponge is often multi-functional, whereas a brush isn’t.
How To Clean Your Makeup Sponge
The best way to clean a makeup sponge is to use a mild soap (for example, baby shampoo) or a specific makeup sponge cleanser and warm water. Gently massage the sponge in your palm until it is lathery, then rinse it under running water until it is clear.
Allow the sponge to air dry on a clean towel. You can deep clean your sponge monthly by soaking it in warm water and antibacterial soap for 5 minutes, then rinsing it thoroughly.
If you’re more of a visual person, here’s a video created by Liya Beauty to help you clean your makeup sponge.
Share This Post, Choose Your Platform!
Related posts